
A Little Bit Extra…
.. TO KEEP YOU IN THE KNOW.
Hair trends, extension FAQs and hair hacks
Hair to help

Back to basics
What’s more basic in the hair world than to learn how the professionals wash your hair. Gert that fresh, clean feeling in the comfort of your own home.
You will need:
Hairbrush/Tangle teezer
Shampoo and conditioner
Soft towel
Step 1. Brush your hair from ends to scalp, removing all knots in the hair. Once knots removed, proceed to brush from scalp to ends of hair - This helps promote blood flow in the scalp to encourage new hair growth, as well as disperse natural oils throughout the hair.
Step 2. Rince your hair thoroughly with wwrm (not hot) water, ensuring hair is completely submerged. Apply selected shampoo to hands (amount according to brand recommendations), rub hands and apply product to the scalp in four sections - hairline, crown, nape and across back of ears. Ready to scrub the product throughout your head, using the flat side of the tips of your fingers. Avoid using nails on the scalp. Rinse and repeat!!
Tip - Open fingers in and out while scrubbing your scalp. This will not only feel great but allow you to cover the surface easier.
Step 3. Remove excess water before applying conditioner. To apply, add appropriate amount of conditioner to hands, apply from mid hair to ends. Where you would tie hair up from is a great guide for the mids. If your hair tends to be drier or more course through the top, you can apply the residue conditioner to the top of your hair, never applying directly onto the scalp. Leave for 1 - 3 minutes, either massaging through or leave to sit. Rinse thoroughly.
Step 4. Towel dry hair from scalp to ends using a soft towel or old cotton shirt. Squeeze and press gently with towel, ensuring not to rub vigorously. Brush through with a wet brush (tangle teezer) and apply desired products.
Hair wash info - Every human has a different amount of oil production. There is no specific amount of days per week you should/shouldn’t wash your hair. If you find your self needing to wash everyday, this can be too much and there could be other causes to excess oil production. We would love to go over your hair wash routine if you have any concerns :).
“When you have found it, you should stick to it”
Extension Q&A with Zara
WHAT TYPE OF EXTENSIONS DO YOU USE?
Z: At Z and Co we use a unique technique based on the traditional micro weave method. This method combines the use of tiny micro beads and hair wefts. The extensions themselves are 100% Remy virgin hair.
DO YOU USE GLUE, OR SEW IN THE HAIR?
Z: Micro weft extensions requires no gluing or braiding at all for the hair extension application. We apply the wefts by guiding the hair through the weft and securing it with the micro beads.
I HAVE REALLY FINE HAIR, CAN I STILL GET EXTENSIONS?
Z: In most cases we can, however, micro weft may not be suitable for very fine hair (book in a consult with us to check). Extensions are great to add volume to finer hair and improve overall strength and growth when looked after correctly.
HOW LONG WILL MY EXTENSIONS LAST?
Z: The longevity you get out of a set of hair extensions differs for each individual but on average they should last 6-12 months (depending on how well you look after them!).
DO I NEED TO GET MY EXTENSIONS TOUCHED UP AFTER GETTING THEM APPLIED?
Z: Yes, this is what we call a maintenance. We recommend a maintenance every 5-7 weeks for all clients. This is a 45-60 minute appointment where we perform maintenance on your extensions and check the overall health of your hair and scalp.
CAN I STILL GET MY COLOUR DONE WITH EXTENSIONS?
Z: You sure can! All of our stylists are experienced in doing colour work with extensions. For the longevity of our clients extensions, we do our best to match their hair to the extension colour rather colouring the extensions themselves (unless required for a blend).
HOW LONG DOES THE INITIAL APPLICATION BLEND TAKE?
Z: An extension application and blend + styling takes an hour and a half by itself. If you would like to add a colour service, the total appointment time can range from 3 1/2 to 5 hours (depending on what you’re wanting to achieve).
HOW MUCH DO EXTENSIONS COST?
Z: It depends on the customer and what they specifically require for their own hair. We offer complimentary consultations and would be happy to book you in to give you a full quote #glowup

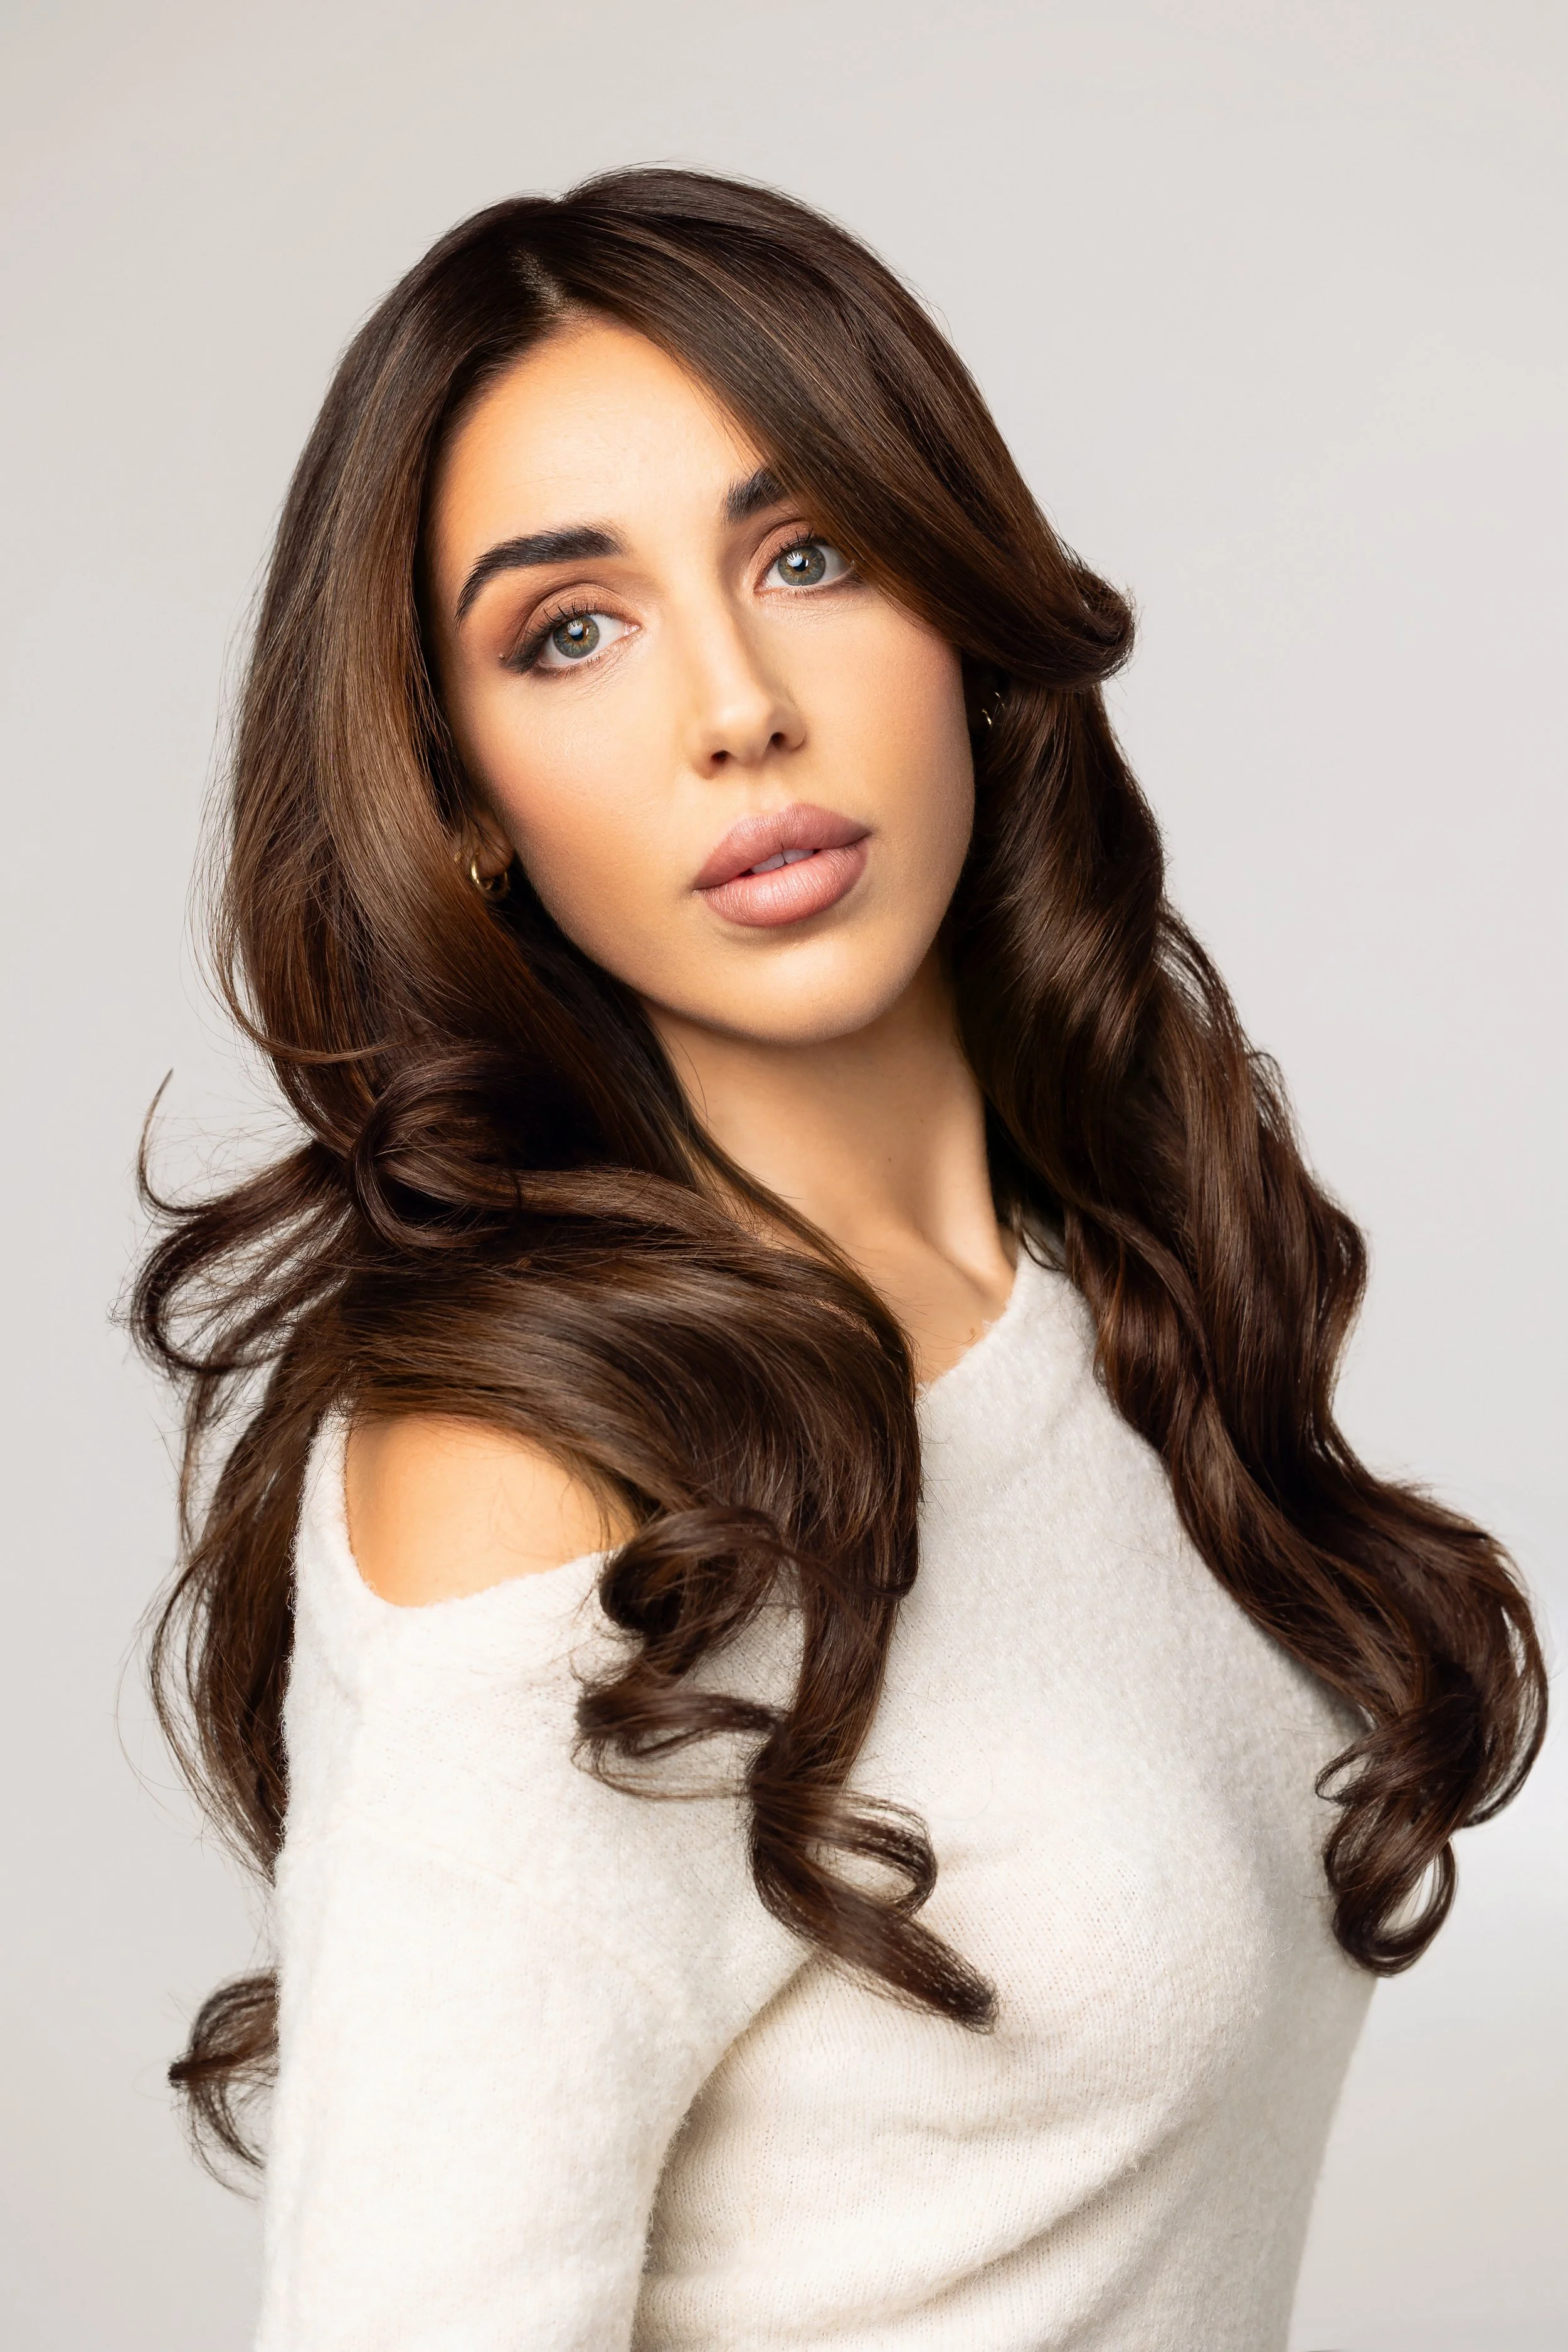
trending… Balayage
Balayage hair colour has been a trend for longer than a hot minute! What is it about this colour that keeps us all wanting more?
First of all, there is a lot of confusion about what balayage is. The word itself is French, which means ‘to sweep or to paint’.
The technique of balayage first started coming into the industry with the hair painting application. Colour is applied directly onto hair section, with sections sometimes being separated with cotton or wrap. The most common colour used in a balayage application is a form of hair lightener, however, any colour can be painted onto the hair.
As this trend developed, stylists found new ways to create innovative techniques to keep the style fresh. There are now a number techniques we can use to create a seamless blend with each style of balayage application varying the overall outcome.
Here is a breakdown of some of the most balayage techniques used around the world today!
Hair painting - Apply colour on to hair sections with a tint brush and colour board
Creates a heavy colour saturation to mids and ends, fading up towards higher points
Colour melt - Apply multiple colours to the hair by melting them into each other
Creates a heavy light to dark fade with a soft melted blend in between fades of colour
Backcombing balayage - Backcombing the roots of sections that will be painted
Same effect as a regular hair paint but this can achieve a softer blend.
Foilayage - Using tradition foils with a modern twist
This application is used a lot in clients transitioning from foils to balayage, or those still wanting to keep a heavy blonde look without as much maintenance.
Tip out - A tip out is when we section out pieces, backcomb the roots, apply colour to the mids and ends, and place in foils. In most cases we would use tip out in combination with another form of colour technique, however, it can be used by itself.
Creates lighter saturation of colour from mids and ends with the control of fading up. Can customise any balayage look.
Foils + tip out - For an effortless lived in colour, this combination of techniques is the most effective
The foils allow a custom transition from the start to end point, while the tip out creates a heavy bright end blended through to the top.
As you can see, there’s so much freedom with every creation when it comes to Balayage which is why it’s one of my favourite colours to work on. With the multiple techniques that we can use to create custom looks, it’s obvious as to why this trend is so popular.
Have you always wanted to try out balayage but didn’t know enough about it? I hope this has inspired you to take the plunge and try it out :)
Z ,
4th May 2020